Making cannabis edibles at home takes just 15 minutes when you start with decarboxylated cannabis or ready-made cannabis oil. You’ll skip the multi-hour infusion process and use straightforward recipes that require basic kitchen tools, a handful of ingredients, and minimal active work. The result is fresh edibles you can dose precisely, enjoy immediately, and customize to your taste for far less effort and expense than most people expect.
I started experimenting with quick edibles in 2024 after a friend showed me how much simpler the process could be once decarboxylation was already done. I’d assumed homemade edibles meant babysitting a slow cooker for hours, but these recipes changed that. If you purchase cannabis oil from a licensed retailer here in Canada or prepare a small batch of infused coconut oil in advance, you can whip up brownies, no-bake energy bites, or a mug of hot chocolate in less time than it takes to watch a sitcom.
This guide walks you through three progressively faster recipes, each designed for different skill levels and kitchen setups. You’ll learn exactly what tools you need, how to dose safely and legally under Canadian regulations, and how to verify your edibles are ready to consume. Whether you’re new to cannabis or simply short on time, these methods give you control over ingredients, potency, and flavor without the steep learning curve.
What You’ll Need: Essential Tools and Ingredients
The secret to making cannabis edibles in under 30 minutes isn’t complicated cooking skills, it’s having the right ingredients ready to go. If you walk into this with raw cannabis flower, you’ll add at least an hour just for decarboxylation. Start with decarboxylated cannabis or, even better, pre-made cannabis oil or butter, and you’re already halfway there.
Here’s what you’ll need to pull together before you start:
- Cannabis Component: Decarboxylated cannabis, cannabis-infused oil, cannabis butter, or tincture (store-bought or homemade from a previous batch)
- Base Ingredients: Dark or milk chocolate, peanut butter, honey, rolled oats, or your preferred beverage base
- Kitchen Tools: Double boiler or microwave-safe bowl, mixing spoon, silicone candy molds or small baking pan, measuring spoons
- Precision Tools: Kitchen scale (for cannabis measurement), calculator or dosing app
The cannabis-infused oil is your biggest time-saver. If you already know how to use cannabis oil in cooking, you can skip the entire infusion process and go straight to mixing and molding. Many Canadians buy cannabis oil directly from licensed provincial retailers, which guarantees accurate potency labeling and saves the hassle of making it from scratch.
For base ingredients, stick with what’s already in your pantry. Chocolate chips, natural peanut butter, and basic baking staples work perfectly. You don’t need specialty molds either, an ice cube tray or small silicone baking cups do the job.
Canadians can source cannabis legally through provincial online stores or physical dispensaries. Base ingredients come from any grocery store. Keep your receipt if you’re buying cannabis products; it’s part of staying compliant with possession limits and tracking what you’ve got at home.
Safety First: Important Warnings Before You Start
Before you dive into making cannabis edibles at home, there are a few critical safety points that every Canadian cannabis user needs to understand. Getting these basics right isn’t just about following rules, it’s about protecting yourself and the people around you.
If you’re new to cannabis edibles, start with 2.5 to 5mg of THC per serving. That might sound tiny, especially if you’re used to smoking or vaping, but edibles hit differently. The effects last longer (typically four to eight hours) and feel more intense because your liver converts THC into a stronger compound. I learned this the hard way during my first attempt at homemade brownies, I got impatient after an hour, ate a second piece, and spent the next six hours glued to my couch wishing I’d just waited.
Storage is non-negotiable when you have kids, pets, or guests in your home. Keep your homemade edibles in a locked container or high cupboard, clearly labeled as cannabis products. Canadian law requires that any cannabis products in your possession remain in their original packaging or in clearly marked containers. A chocolate bite that looks like a regular treat can be dangerous in the wrong hands.
You’re legally allowed to possess up to 30 grams of dried cannabis equivalent in public in Canada (edibles count toward this limit based on THC content). At home, you can store more, but everything must be secure and properly labeled. Treat your homemade edibles with the same caution you’d give any controlled substance, because that’s exactly what they are.
Quick Recipe #1: 15-Minute Cannabis Chocolate Bites
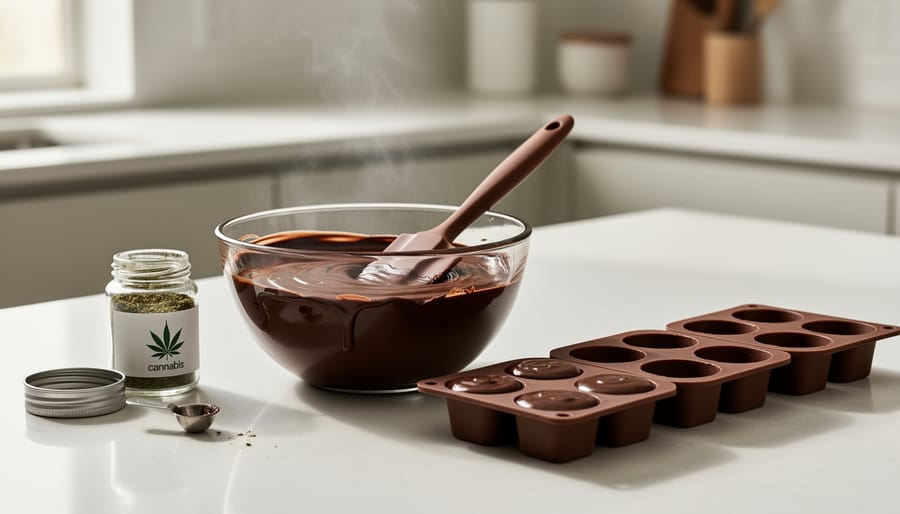
Start with good-quality chocolate chips or a chocolate bar broken into pieces, dark, milk, or white chocolate all work, though dark chocolate’s richness masks cannabis flavor better. You’ll need roughly 200 grams of chocolate for a batch that yields 8-12 bites, depending on your mold size.
- Set up your double boiler or place a heat-safe bowl over a pot of simmering water. Add your chocolate and stir gently as it melts, keeping the heat low to prevent scorching. This takes about 5 minutes. If you’re using a microwave, heat in 30-second bursts, stirring between each interval.
- Once the chocolate is fully melted and smooth, remove it from heat. Let it cool for 1-2 minutes, you want it warm but not hot enough to degrade your cannabis oil’s potency.
- Add your measured cannabis oil and stir thoroughly for at least 30 seconds. Make sure the oil is completely incorporated; you shouldn’t see any separation or streaks. This even distribution is crucial for consistent dosing across all pieces.
- Pour the mixture into silicone molds or a parchment-lined shallow pan. Tap the mold gently on the counter to release air bubbles.
- Place in the refrigerator for 8-10 minutes until firm. Don’t use the freezer, it can cause the chocolate to bloom with white streaks, though this won’t affect potency.
For dosage calculation, you need to know your cannabis oil’s strength. If your oil contains 200mg THC total and you’re making 10 chocolate bites, each piece will contain roughly 20mg THC. For beginners aiming for 5mg servings, you’d either use less oil or cut each bite into quarters. Write the total THC content on your container so you can divide portions accurately.
Flavor additions elevate these from basic to impressive. Sprinkle flaky sea salt on top before refrigerating for a sweet-salty contrast. Press a few pieces of dried cranberry or apricot into each mold. A pinch of cinnamon or cayenne mixed into the melted chocolate adds warmth. Just fold in extras gently after adding the cannabis oil to keep the mixture smooth.
These bites stay fresh for two weeks in an airtight container in the fridge. Always label them clearly with the THC content and keep them separate from regular chocolate.
Quick Recipe #2: No-Bake Cannabis Peanut Butter Balls
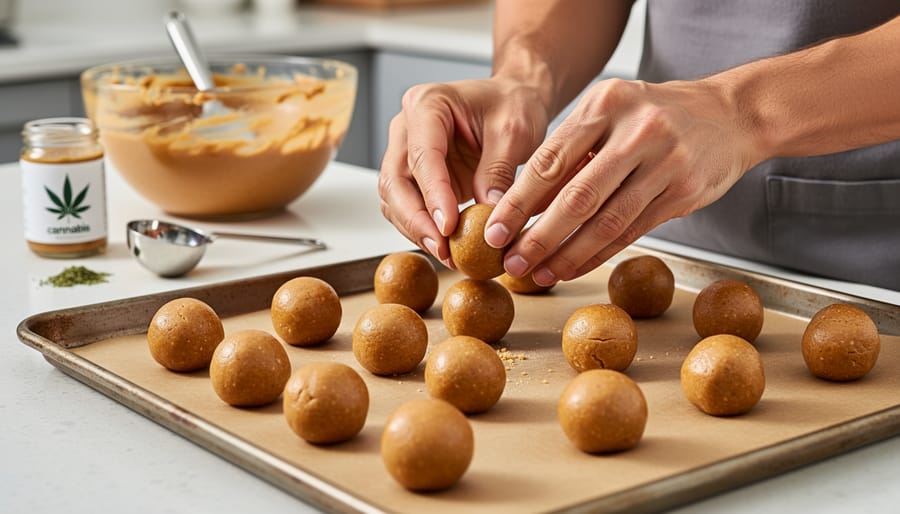
These no-bake energy balls combine the classic peanut butter-oat combination with measured cannabis oil for a satisfying edible that’s ready in 20-25 minutes. They’re easier to portion than brownies and travel well in the fridge.
- In a medium bowl, combine ½ cup peanut butter (creamy works best), ⅓ cup honey, and 1 cup rolled oats. Stir until the mixture holds together when pressed.
- Add your measured cannabis oil. For 12 balls at 5mg THC each, you’ll need 60mg total THC. If your oil contains 10mg THC per milliliter, measure 6ml (about 1¼ teaspoons). Mix thoroughly to distribute evenly.
- Let the mixture sit for 2-3 minutes so the oats absorb moisture. If it’s too sticky to handle, add more oats a tablespoon at a time; if it’s crumbly, add a teaspoon of honey.
- Roll into 12 equal-sized balls, roughly one tablespoon of mixture each. Using a small cookie scoop ensures consistent portions and therefore consistent dosing.
- Place on a plate lined with parchment paper and refrigerate for 15 minutes until firm.
The recipe scales easily, double it and freeze half for later. Each ball should be roughly the size of a walnut. I mark the container with the dose per ball and the total count so there’s no confusion later.
For nut allergies, sunflower seed butter or tahini work well, though tahini has a stronger flavor that some people find medicinal when combined with cannabis. You might add a pinch of cinnamon or mini chocolate chips to mask it. Almond butter creates a slightly drier texture, so reduce the oats by two tablespoons.
These keep refrigerated for up to two weeks in an airtight container, or freeze for three months. Always label clearly with the THC content and date made.
Quick Recipe #3: Cannabis-Infused Hot Beverage
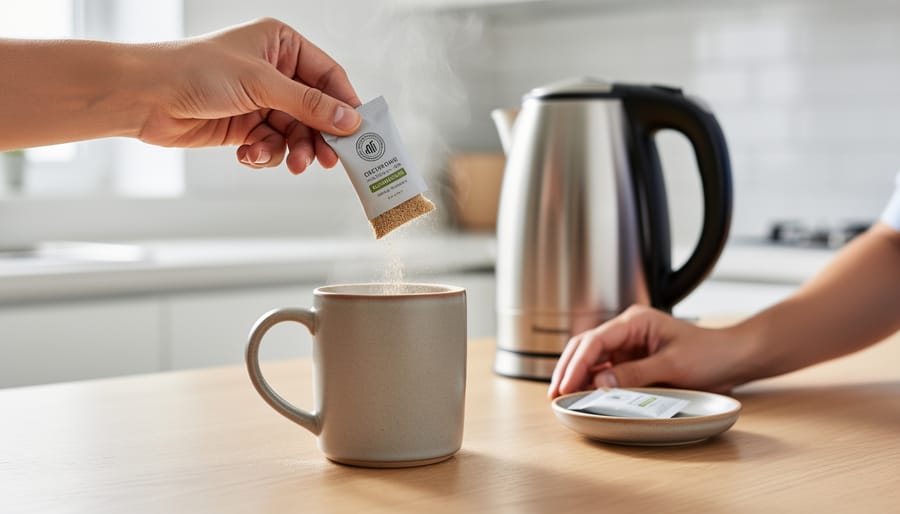
If you need something ready in minutes rather than waiting for treats to chill, a cannabis-infused hot beverage is your fastest option. This method takes under 10 minutes from start to finish and works beautifully with hot chocolate, tea, coffee, or even golden milk. It’s particularly appealing for beginners because there’s no baking or cooking involved, just careful measuring and gentle stirring.
The process is straightforward:
- Heat your beverage of choice to drinking temperature (not boiling, which can degrade cannabinoids).
- Measure your cannabis oil or tincture based on your desired dose (start with 2.5-5mg THC if you’re new).
- Add a fat source to your drink if it doesn’t already contain one, whole milk, coconut oil, or a splash of cream works well.
- Stir in your cannabis oil or tincture, mixing thoroughly for at least 30 seconds to ensure even distribution.
- Let it cool slightly if needed, then sip slowly and enjoy.
Fat content matters significantly here because THC binds to fats and helps your body absorb the cannabinoids more effectively. A black coffee or plain herbal tea won’t carry cannabis oil well on its own, but adding even a teaspoon of coconut oil or switching to a latte-style preparation makes a noticeable difference in both mixing and effectiveness.
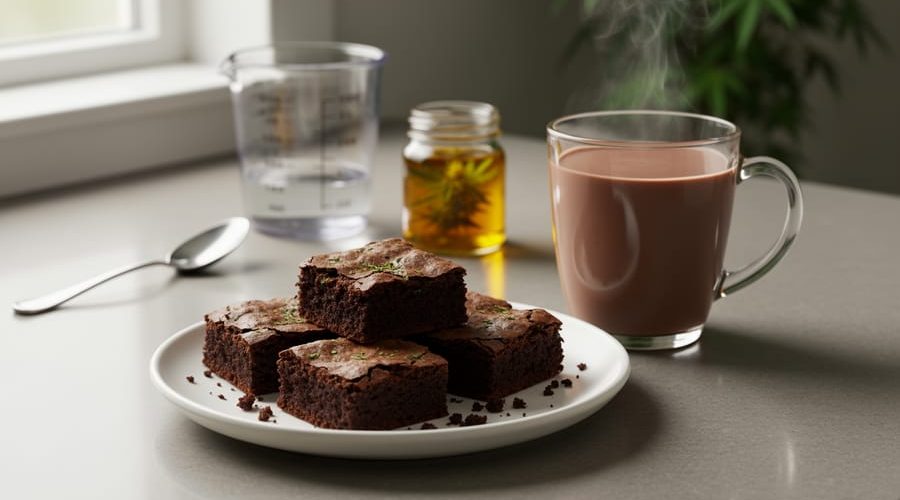
Keep your beverage below boiling once you’ve added the cannabis, excessive heat can reduce potency. Stir well before each sip since oil can separate and settle. I’ve found hot chocolate particularly forgiving for this method because the existing fat from milk or cream helps the cannabis oil integrate smoothly, and the rich flavor masks any herbal notes from the cannabis itself.
Calculating Your Dose: Getting It Right
Getting the dose right matters more than speed. When you control your homemade edibles, you avoid the guesswork that comes with inconsistent products and can tailor each batch to your tolerance.
Start with the math. If you use 1 gram of cannabis flower at 20% THC, you have roughly 200mg of total THC (1000mg × 0.20 = 200mg). Divide that across 10 servings, and each piece contains about 20mg. For someone new to edibles, that’s too strong. Split those 10 portions in half, and suddenly you’re at a more manageable 10mg per serving. Beginners should aim for 2.5 to 5mg to start.
The formula is straightforward: multiply your cannabis weight in milligrams by its THC percentage, then divide by the number of servings you’re making. A dose calculator simplifies this if you’re working with oils or tinctures where potency is already labeled.
I learned this the hard way after making a batch without doing the arithmetic. What I thought were mild chocolate bites turned into an eight-hour commitment. Precision prevents unpleasant surprises.
Canada doesn’t regulate homemade edible potency the way licensed producers must, so the responsibility falls on you. Follow safe THC dosing principles: start low, go slow, and write down what you made. Your future self will thank you when you want to recreate a batch that worked perfectly.
How to Tell Your Edibles Are Ready and Working
Knowing your quick cannabis edibles are properly prepared, and then recognizing when they’re starting to work in your system, requires two different sets of verification checks.
For recipe completion, your chocolate bites should be firm to the touch after refrigeration and release cleanly from molds without smearing. Peanut butter balls need to hold their shape when handled and feel solid, not sticky or soft. Cannabis-infused beverages should be well-stirred with no oil separation visible on the surface. If your edibles feel tacky, melt when touched, or look uneven, give them more chill time or adjust your ratios next batch.
The safe storage test is simple: place one portion in your fridge for 24 hours. It should maintain its structure without becoming runny or developing moisture. This confirms your edibles will stay consistent over their shelf life.
Before consuming full portions, conduct a low-dose test with half of what you calculated per serving. Mark the time you consume it in a notebook or phone. Most people feel initial effects between 30 minutes and two hours after eating, though your metabolism, what else you’ve eaten that day, and the recipe type all influence onset. Effects typically last four to eight hours, peaking around the two-to-three-hour mark.
I keep a simple journal noting the recipe, estimated dose, time consumed, when effects began, peak intensity, and total duration. After three or four sessions, patterns emerge that help you dial in your ideal dose and timing. Once you’re comfortable with these quick recipes and understand your personal response, you might explore slightly more involved options like weed gummies that require a bit more technique but offer precise portioning.
Common Questions About Quick Cannabis Edibles
When you start making quick cannabis edibles at home, questions pop up. I’ve gathered the ones Danielle and I hear most often, with straightforward answers to keep you confident and safe.
Can I skip decarboxylation and use raw cannabis?
No, raw cannabis won’t produce the effects you’re looking for because THCA needs heat to convert into active THC. You must decarb your cannabis first or use already-activated cannabis oil.
How long do homemade cannabis edibles stay fresh?
It depends entirely on your base ingredients. Chocolate bites last about two weeks refrigerated, while peanut butter balls keep for one week in the fridge. Treat them like their non-infused versions and watch for spoilage signs.
Will my edibles taste like cannabis?
You’ll likely notice some earthy, herbal notes, especially at higher doses. Strong flavors like dark chocolate, peanut butter, or spiced hot chocolate help mask the taste, and using quality cannabis makes a difference too.
Do I need special kitchen equipment?
Not at all. A microwave-safe bowl or basic double boiler, measuring spoons, and simple molds or a baking pan are enough for these recipes. You probably own everything already.
What should I do if I don’t feel anything after eating an edible?
Wait at least two hours before even thinking about taking more. Edibles can take up to two hours to kick in, and the effects build gradually. Patience prevents accidental overconsumption.
Can I make edibles without cannabis oil?
You can use decarbed cannabis flower directly in recipes that involve fat and heat, like melted chocolate, but it won’t distribute as evenly and dosing becomes less precise. Cannabis oil gives you better control, especially for quick recipes.
These answers cover the basics, but remember that your experience might vary based on your tolerance, the potency of your cannabis, and even what you’ve eaten that day. Start conservatively, keep notes on what works, and adjust from there. The beauty of making your own edibles is learning what suits you best.
Making quick cannabis edibles at home is entirely achievable once you’ve got decarbed cannabis or infused oil ready to go. The recipes in this guide prove you don’t need hours or specialty equipment, just a willingness to start simple and respect the process.
I’ve learned the hard way that patience with dosing isn’t optional. Start low, wait the full two hours, and keep notes on what works for your body. That’s how you build confidence and avoid the anxiety that comes from overdoing it.
The real advantage of homemade edibles is control. You choose the ingredients, adjust the potency to suit your needs, and know exactly what’s in each portion. For Canadians navigating legal possession limits and seeking cost-effective options, that control matters.
Store your creations safely, label them clearly, and consume responsibly. You’re not just making treats, you’re taking charge of your cannabis experience in a way that suits your lifestyle and budget.